


 Made in the USA
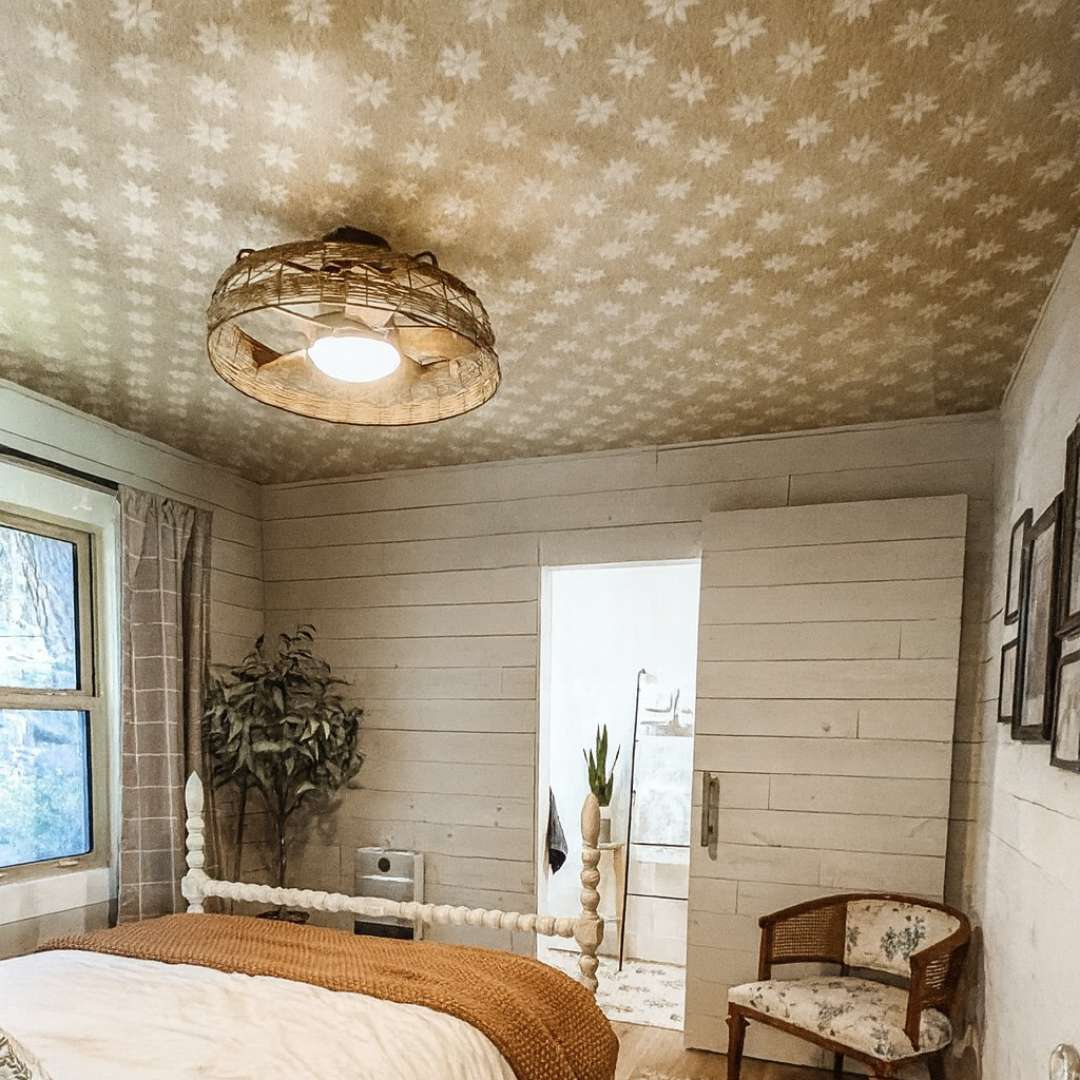
Looking to make a dramatic statement that goes beyond the walls? The "fifth wall"—your ceiling—is a canvas of untapped potential. While often overlooked, a beautifully wallpapered ceiling can transform a room, adding depth, texture, and a touch of unexpected luxury. This is an advanced DIY project, but with the right preparation and a little patience, you can achieve a professional, head-turning result.
Why Wallpaper a Ceiling?
A "Wow" Factor: It instantly makes a room feel more custom and unique.
Draws the Eye Up: It can make a room feel taller and more expansive, especially with a light-colored or reflective pattern.
Hides Imperfections: Wallpaper can effectively conceal minor cracks, bumps, or uneven texture on an old ceiling.
Adds Texture and Interest: It provides an opportunity to introduce a new element into your design, whether it’s a subtle grasscloth, a bold geometric, or a lush floral print.
Step 1: Preparation is Key
This is the most crucial part of the process. Don't skip these steps!
Gather Your Tools: You'll need a ladder or scaffolding, a plumb line or laser level, a smoothing tool, a sharp utility knife with plenty of extra blades, a tape measure, and a pencil. Depending on your wallpaper, you'll also need paste and a paint roller or a spray bottle for peel-and-stick.
Prep the Ceiling: Clean the ceiling thoroughly. Fill any cracks or holes with spackle and sand them smooth. Apply a high-quality primer designed for wallpaper application—this is vital for proper adhesion and will make future removal much easier.
Measure and Calculate: Measure the length and width of your ceiling. Then, measure the length of one wallpaper roll. Use these numbers to calculate how many strips you'll need, accounting for pattern repeat and a little extra for trimming.
Step 2: Plan Your Layout
Unlike walls, you don't have a corner to start from. A great trick is to start in the middle.
Find the Center: Use a tape measure to find the exact center of your ceiling. Mark it with a pencil.
Create Your Guide Line: From this center point, use your plumb line or laser level to draw a straight line down the length of the ceiling. This will be your guide for the very first strip, ensuring it's perfectly straight and your entire pattern will be aligned.
Step 3: Application (Teamwork Makes the Dream Work!)
Wallpapering a ceiling is a two-person job. Trust us.
Cut the First Strip: Measure your ceiling's length and cut your first strip, adding a few extra inches to each end for trimming. If you have a pattern, make sure you've accounted for the repeat.
Apply the Wallpaper: Have one person on the ladder, applying the strip along the guide line you drew. The second person should stand on the other side, holding the free end of the paper to prevent it from folding, wrinkling, or tearing under its own weight.
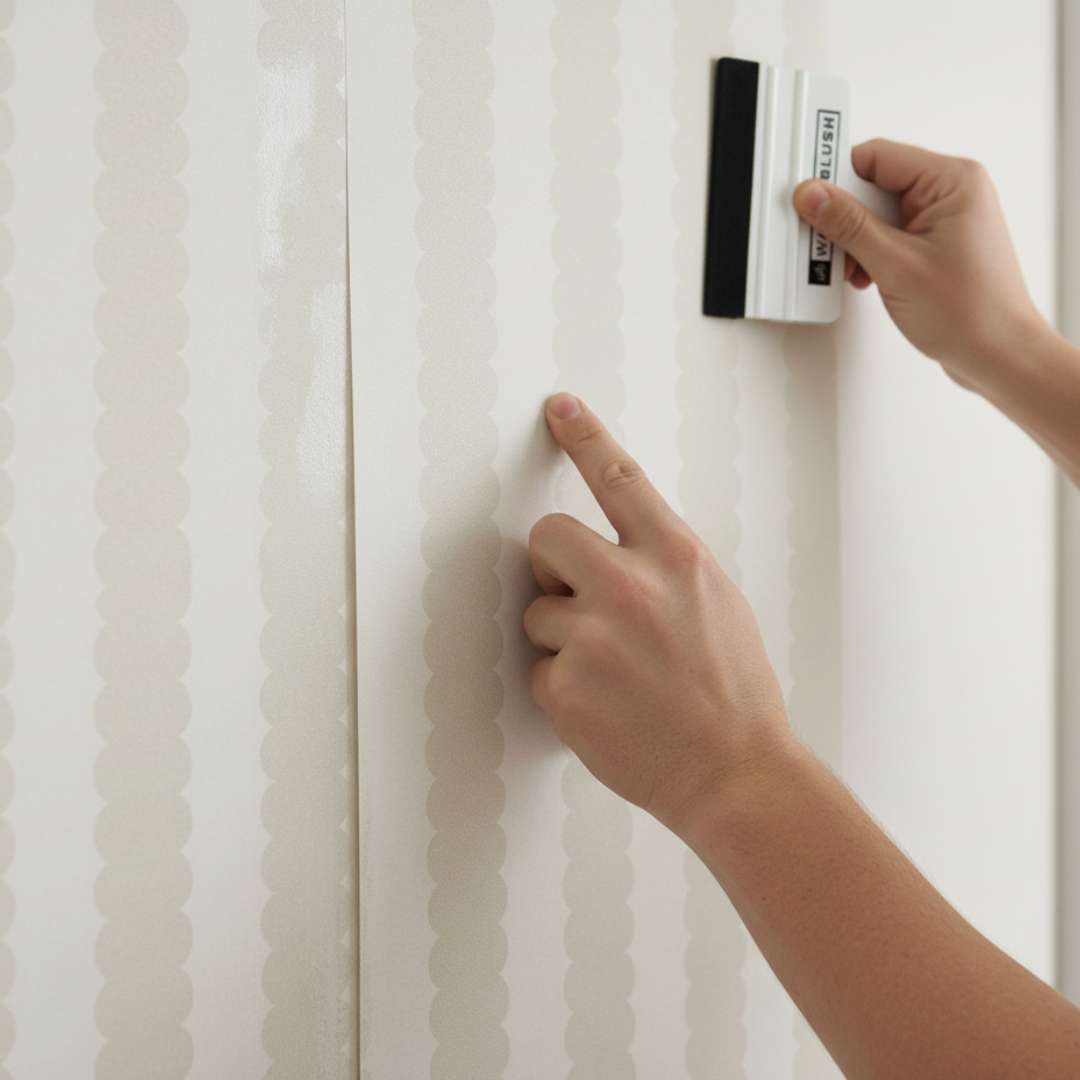
Smooth and Adhere: As you go, use your smoothing tool to press out any air bubbles, working from the center of the strip outward. The second person can help with this, ensuring the paper is flat and even.
Repeat: Once the first strip is in place, you can move to the next one. Align the second strip's pattern repeat perfectly with the first one before applying it. Continue this process, working your way out from the center line to the edges of the room.
Trim and Finish: Once all your strips are up, use your sharp utility knife and a straight edge to carefully trim the excess paper along the edges of the ceiling. Replace your blade often to get a clean, crisp cut.
Final Touches
Step back and admire your work. A wallpapered ceiling is a bold design choice that can completely transform the feel of a room, adding a new dimension of style and sophistication. While it may seem daunting, the finished look is well worth the effort. Now, you can truly say you've elevated your space.